
A challenge from Jack
Jack was on a trip with Scott to talk to a bank about loaning him the money to buy Camps Kenwood and Evergreen (K&E) the Camps Scott owned and had directed for 30 years. They stayed at a hotel full of mission/craftsman style furniture and furnishings. Jack learned that Scott was really into the Arts & Craft movement. He sent me some pictures from the hotel and explained how much he appreciated the chance Scott was giving him to take over K&E. He asked if I could think of a way to make something special to thank Scott and at the same time tie it to K&E. Well, I started thinking about doing something in stained glass but after a while I sent Jack this rough picture and asked if something like this would do and if the version of the K&E logo in the pic would work. He loved the idea and I said I’d never done anything like the panel in the picture but I’d see if I thought I could do something.
I started by finding a copy of the logo that appeared on many K&E websites and checking with Jack to make sure the maroon and hunter green colors were appropriate. Jack who is somewhat color blind was not necessarily the best source but he confirmed that the logo and colors worked. I could have just painted something on the panel but that seemed too simple and likely to wear over time. So I started to think about trying to recess the logo into the panel and then staining or painting the recessed logo.
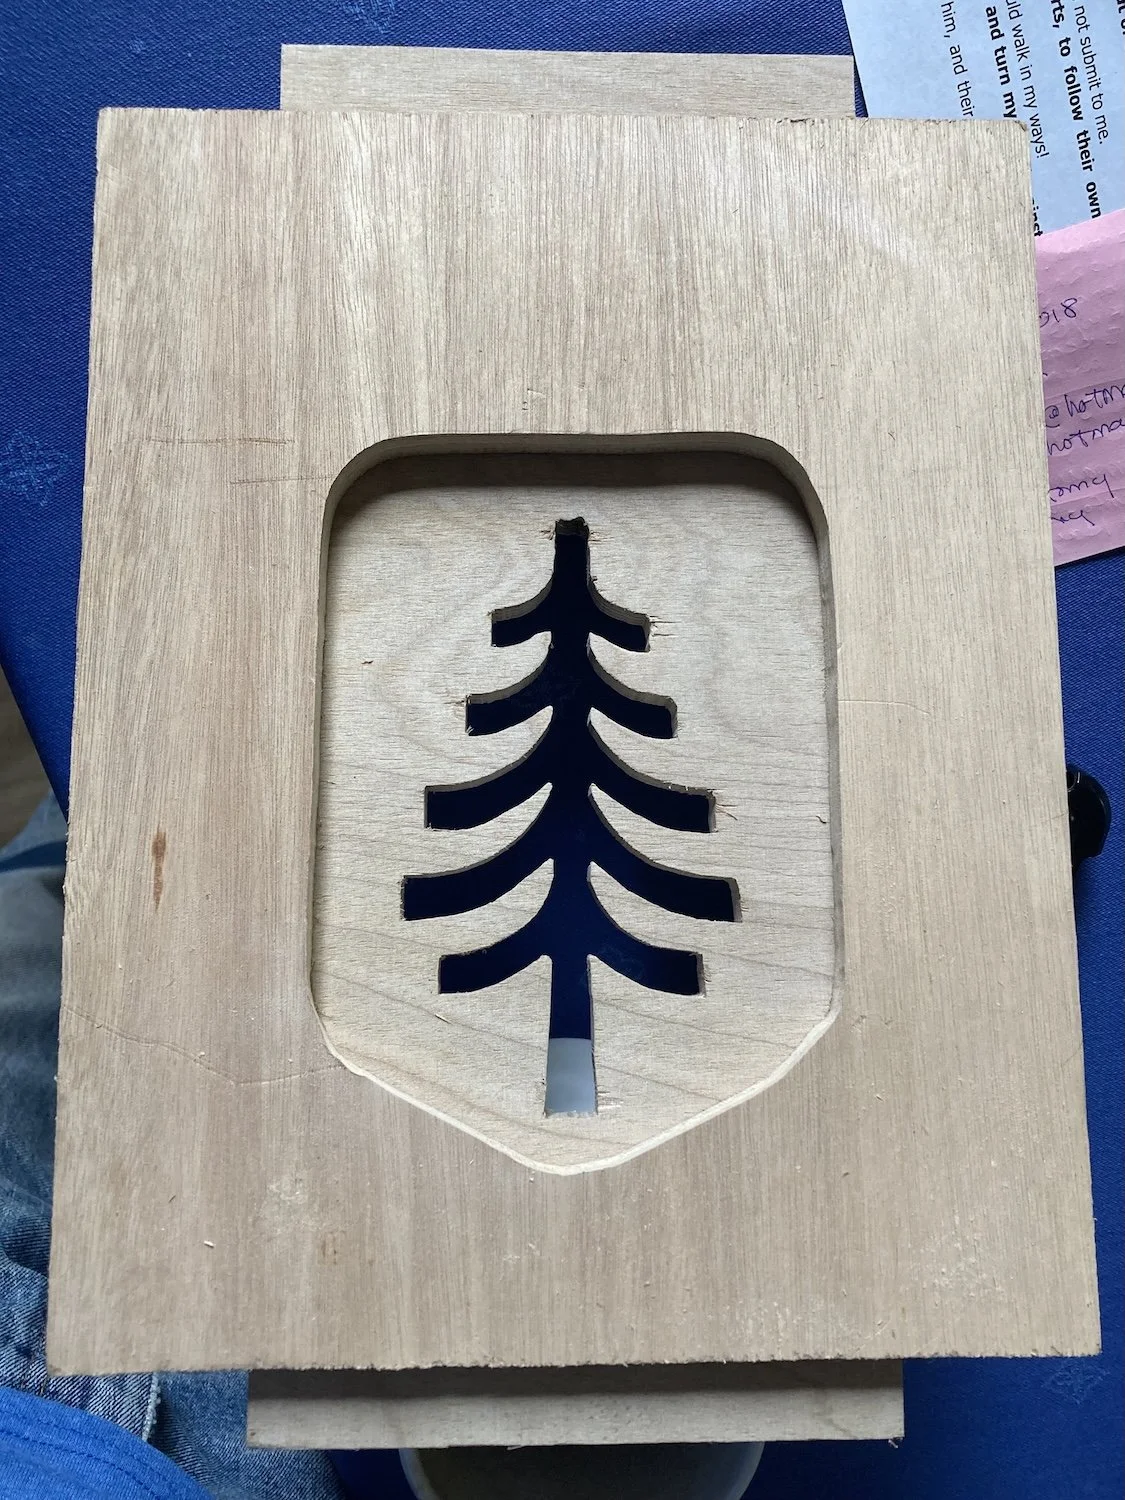
I drew up the shape of the front panel in a graphics package including the logo and then scaled it to the desired size. Then printed it onto a couple sheets of heavy paper, taped them together to form a full size pattern and cut out the shape of the panel. Then it was pretty straightforward to transfer the pattern to some 1/2 inch stock and cut it out on the band saw. I decided to try to make two templates for the logo. One would be the outside of the shield pattern, with the interior removed. The other would be the tree with everything tree removed. The patterns were transferred to the wood using paper patterns cut from the scaled printout. I didn’t own and had never worked with a scroll saw but it seemed to be the right tool for this job. So, I bought a scroll saw I’d been wanting and cut out a couple practice templates. Then I made the two templates pictured out of 1/2 inch plywood scraps. They are pictured stacked to show how routing just inside the perimeter of the shield and then routing inside the tree will yield the required pattern.
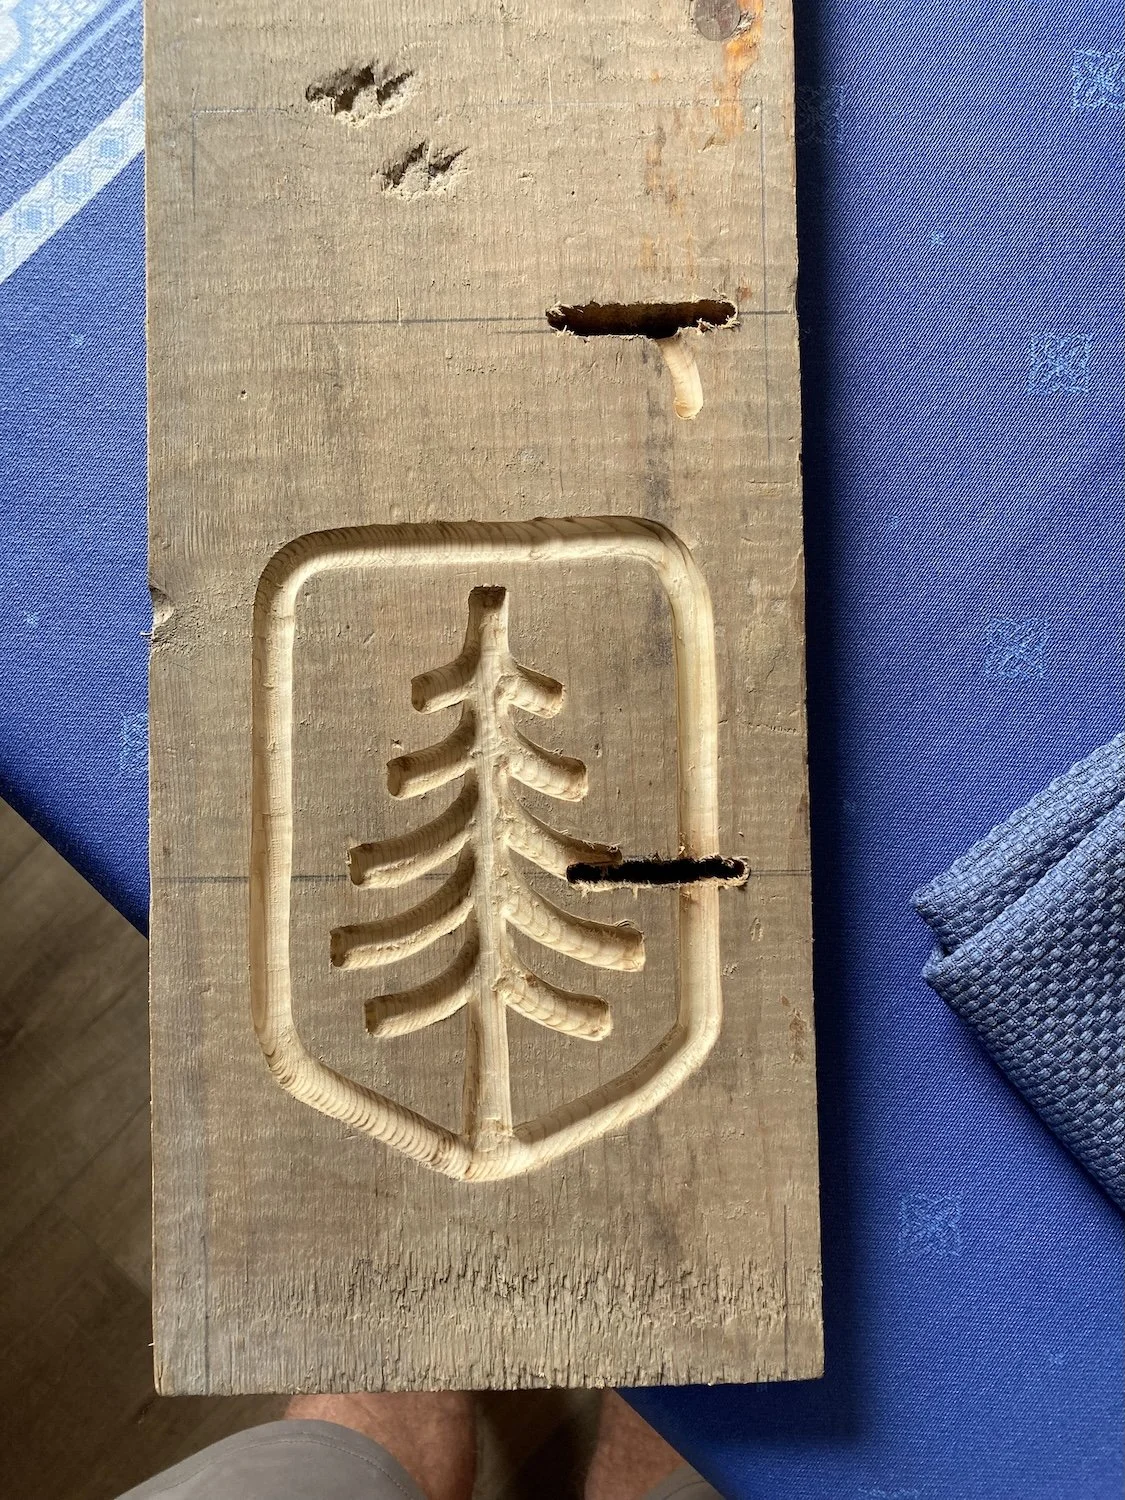
I experimented with some different flush router bits to get the shape and depth desired for each template. Then I clamped the shield pattern to the front panel I’d cut with the band saw and carefully slid the router along the perimeter to form the recessed shield. Then I clamped the tree template to the front panel making sure to orient it properly inside the shield. I used a smaller bit for this task to make sure to capture the squarish corners at the ends of the branches. Then I routed all around the inside perimeter of the template and then cleaned up anything left high on the interior of the template. This pic shows my first try on a beat up piece of scrap. I adjusted the depth slightly to make the final cut a little shallower.

After a lot of learning, practice and fussing I had a panel with the recessed logo and decided that paint would give a more consistent finish than stain and give me more control of the colors. Again a new challenge for me as the only painting I’d ever done involved houses. I learned to mix colors to get just the right shade and carefully painted the logo. Luckily my trusty companion Pam had stained and finished the panel so it was easy to clean up if I strayed outside the recess.
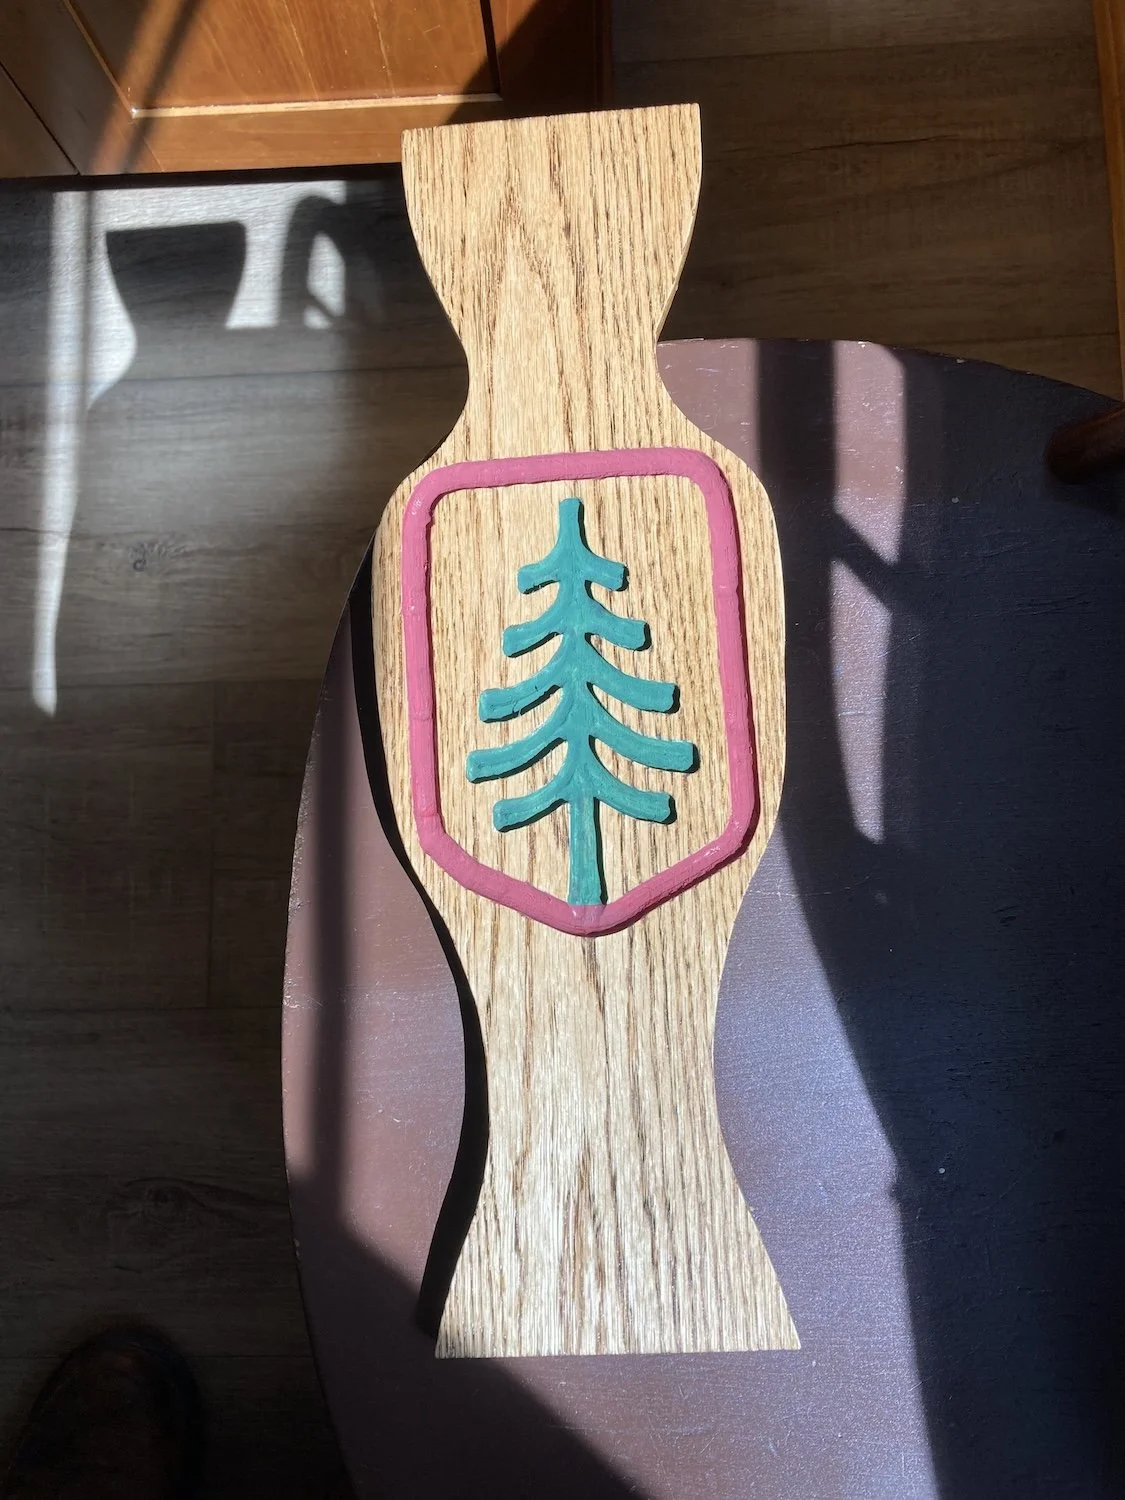
Finally, a finished panel that seemed to work. Shown here before the final coat of poly to seal the paint. This all took place at the lake over several months while I was trying to finish two other projects. At this point I sent this picture to Jack telling him I’d done the challenging part and now just needed to build a table around the panel.
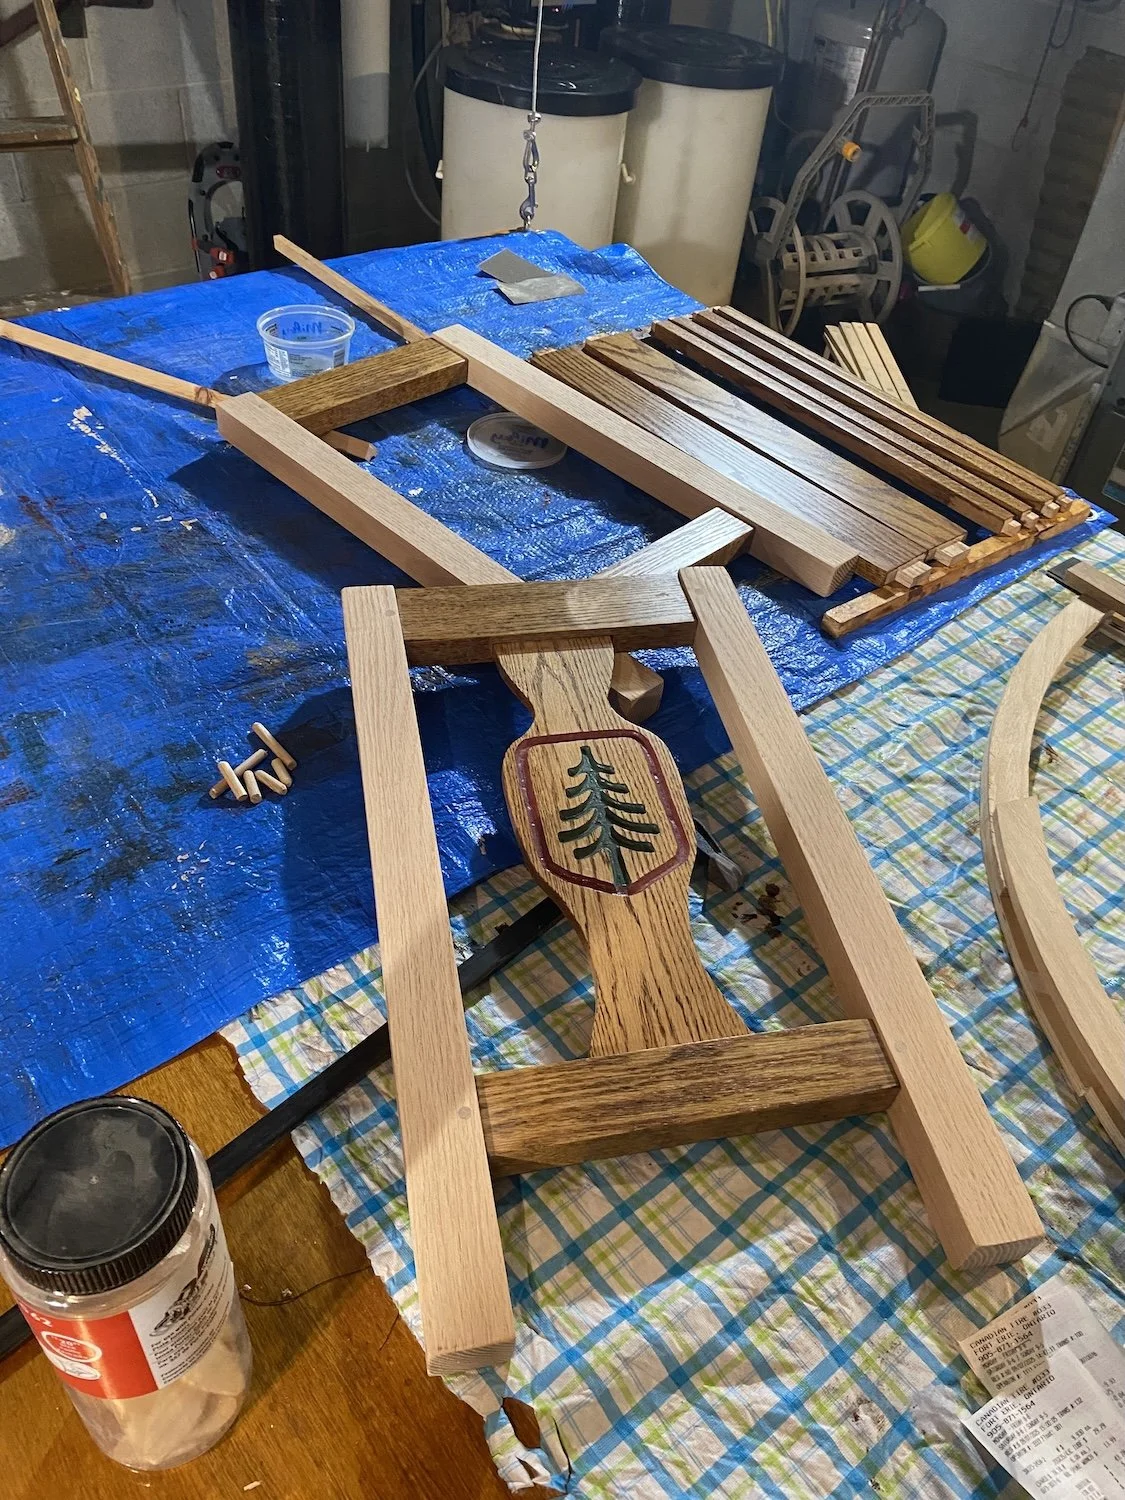
I had a lot of red oak available from a number of earlier projects and with the addition of one board was able to shape all the parts for the base of the table. Pam loves the look of pinned tenons so that decided the joinery for the base. She likes to finish all the cross pieces (skirt and stretcher) to minimize where she has to worry about glue affecting how the stain is taken up. Here you see the front and back being glued up and tenons pinned. Note the front panel is also set in mortises. You can just see the end of the pins in the pic after they have been cut off and sanded flush (this sanding is why the legs aren’t finished before assembly).
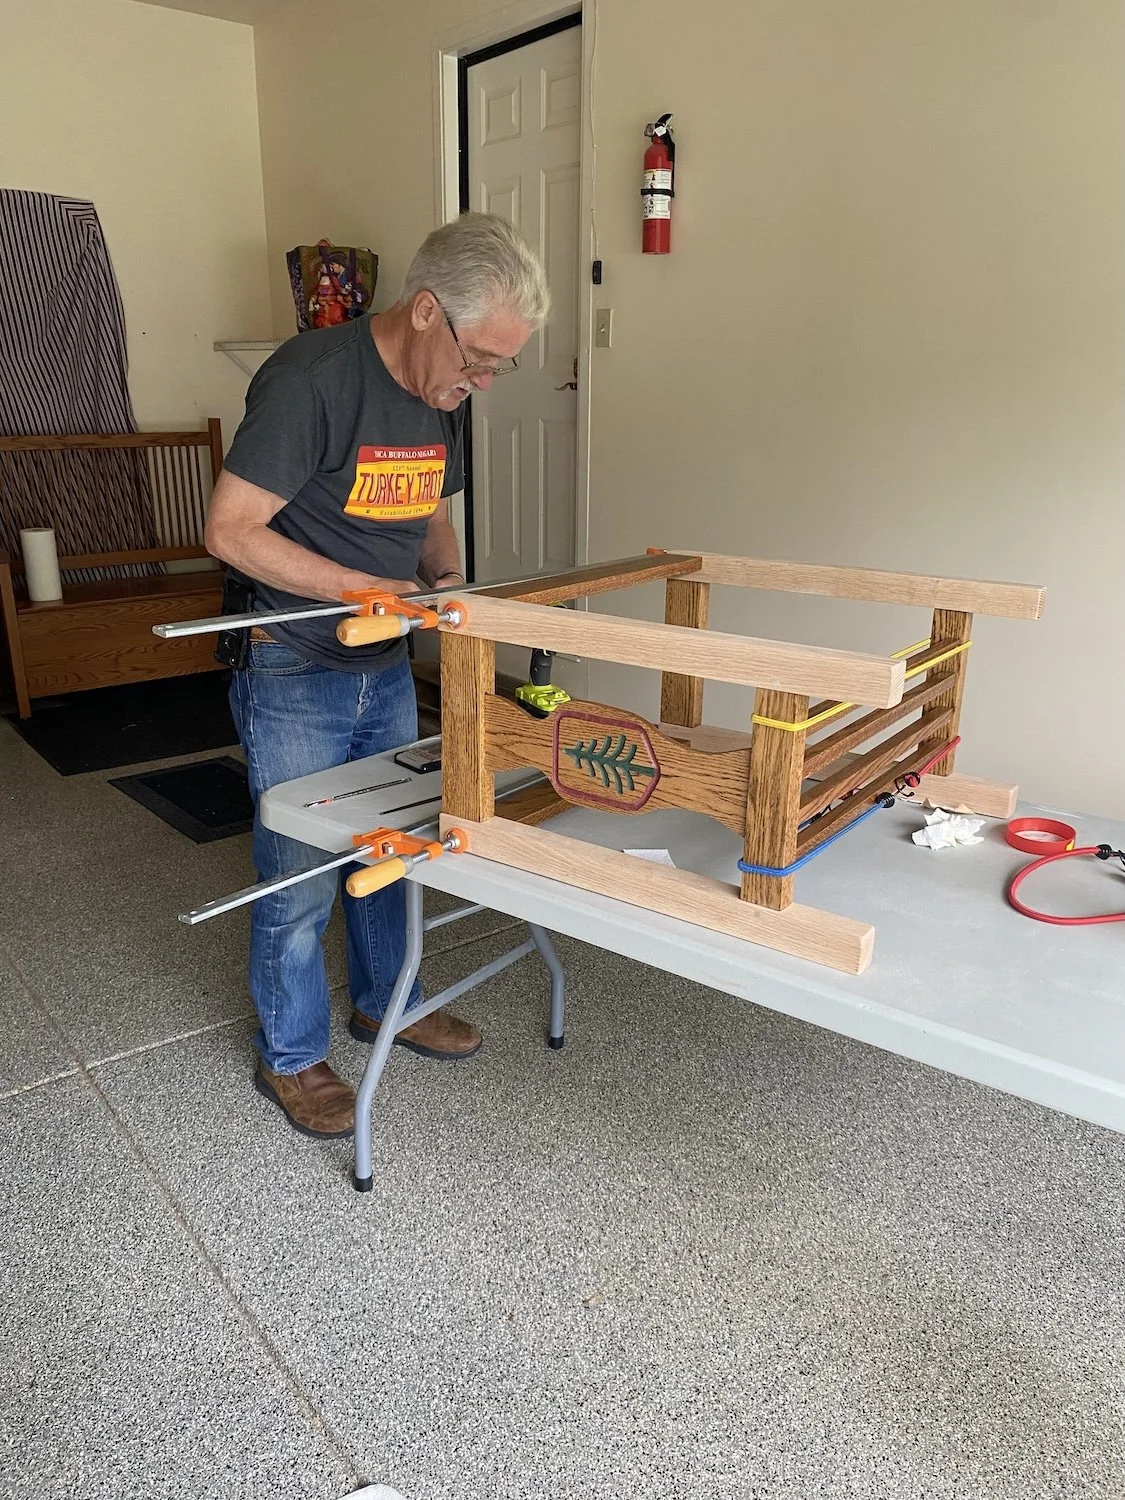
At this point the project moved from the lake to the townhouse as we were getting organized for fall and planning to go to K&E for the first time. Here I’m doing the final assembly of the base, attaching the skirting with pinned tenons and using the long stretchers to form a magazine rack that are mortise and tenon joined to the short stretchers.
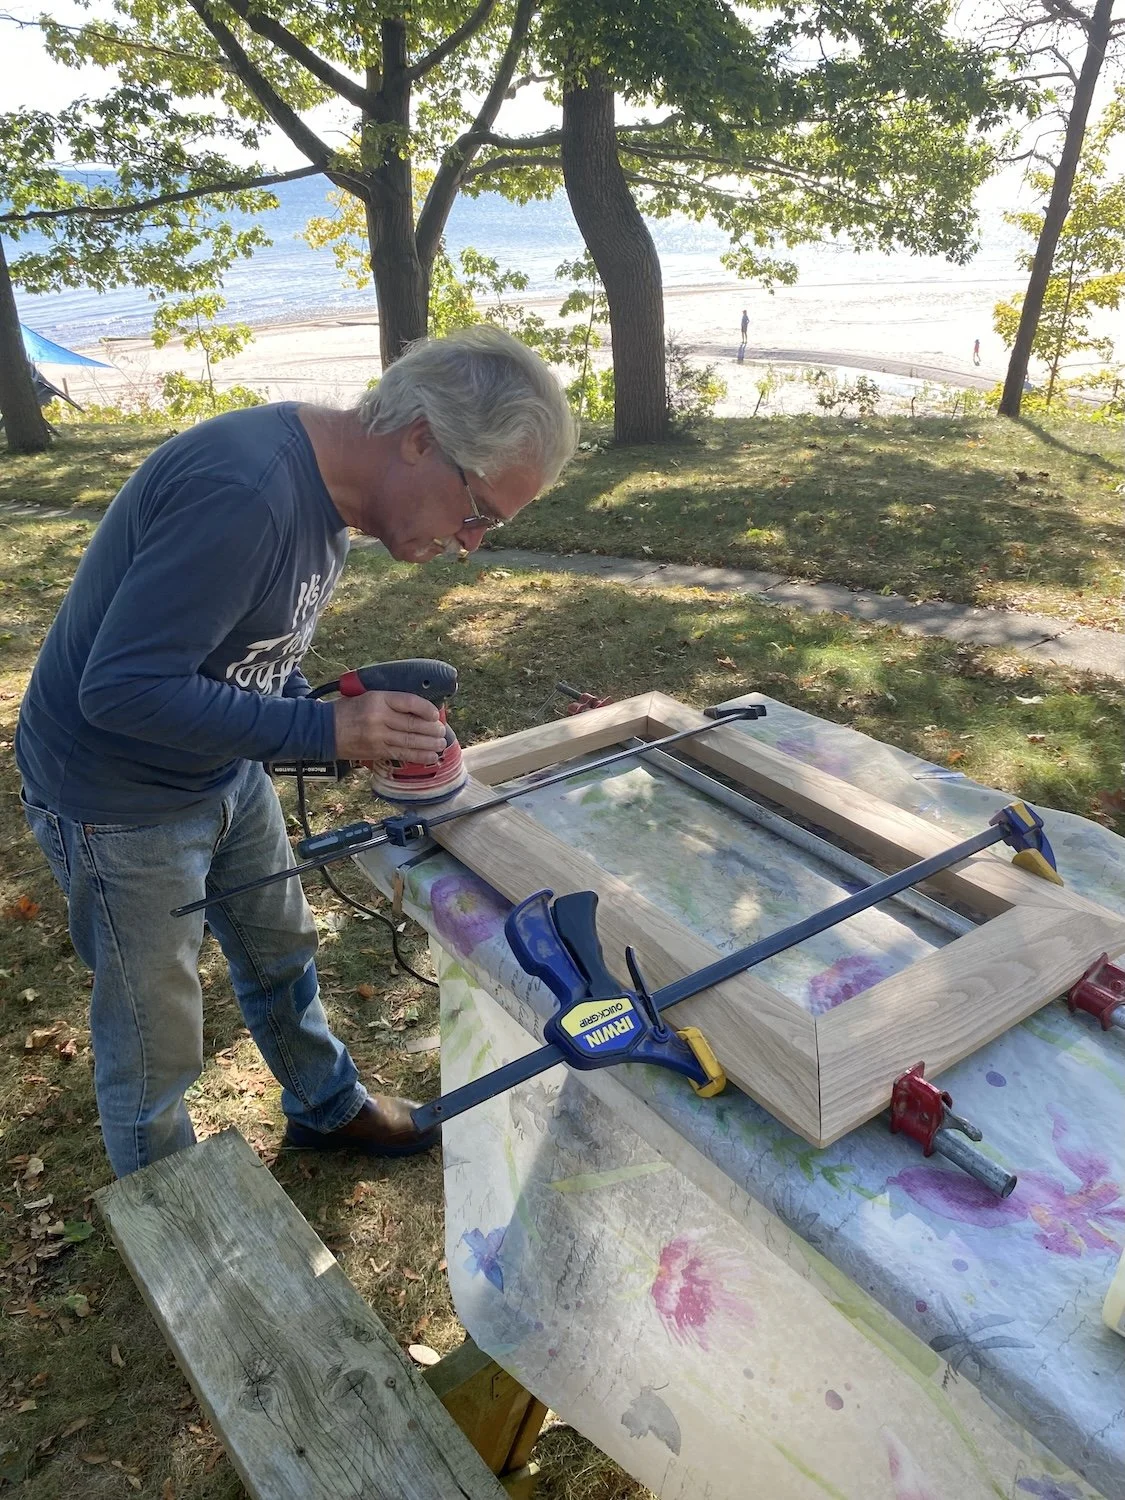
I don’t have much of a wood shop in the city but I have a great source of lumber. I was dreading having to buy the lumber for the top in Buffalo then taking it to Canada to dress and shape and then taking it back across the border. I’d been telling Jack that was the likely scenario when I learned about a hardwood lumber company across the Niagara Peninsula from us. Luckily it is in wine country so we got up there with our next visitor. It was an awesome place with a great stock. I was able to buy a piece of rough cut 5/4 inch white oak to form the table top. I dressed it with my planer and cut bevels to undercut the edges to lighten the final look. Here I am gluing up the top with biscuit joints and sanding everything flush on a beautiful early fall day at the lake. I should point out that Pam is not only the photographer but helps with most steps where extra hands are needed. I also drafted “Auntie Karen” to help with the planing and cutting the bevels. She thought she was there for the wine tasting but was happy to help in the shop. I used white oak because it is the traditional wood most commonly used in Arts & Crafts furniture. When stained it blends seamlessly with the red oak we had used for the base.
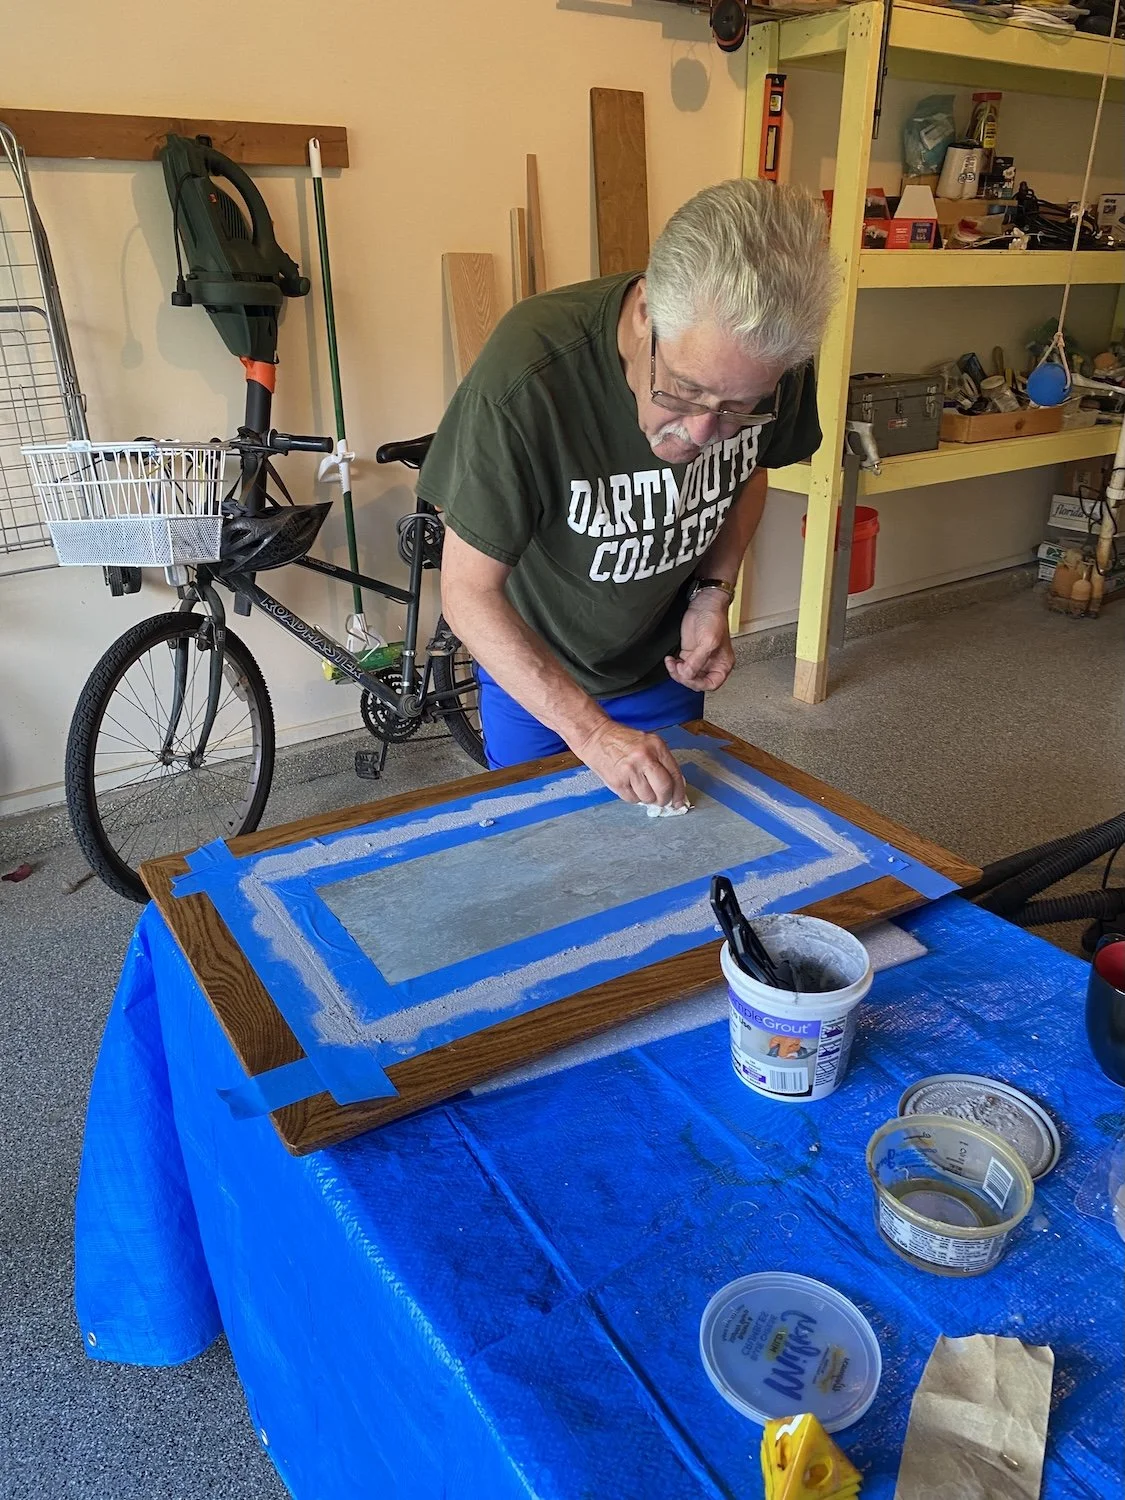
Back at the townhouse Pam once again stained and finished the perimeter of the top. Then I used pocket hole screws to attach
a piece of 3/4 inch plywood to form the center of the top and glued a floor tile to make up a nice hard surface for the bulk of the top. Here I am grouting the tile a day or two before we are to head for camp.
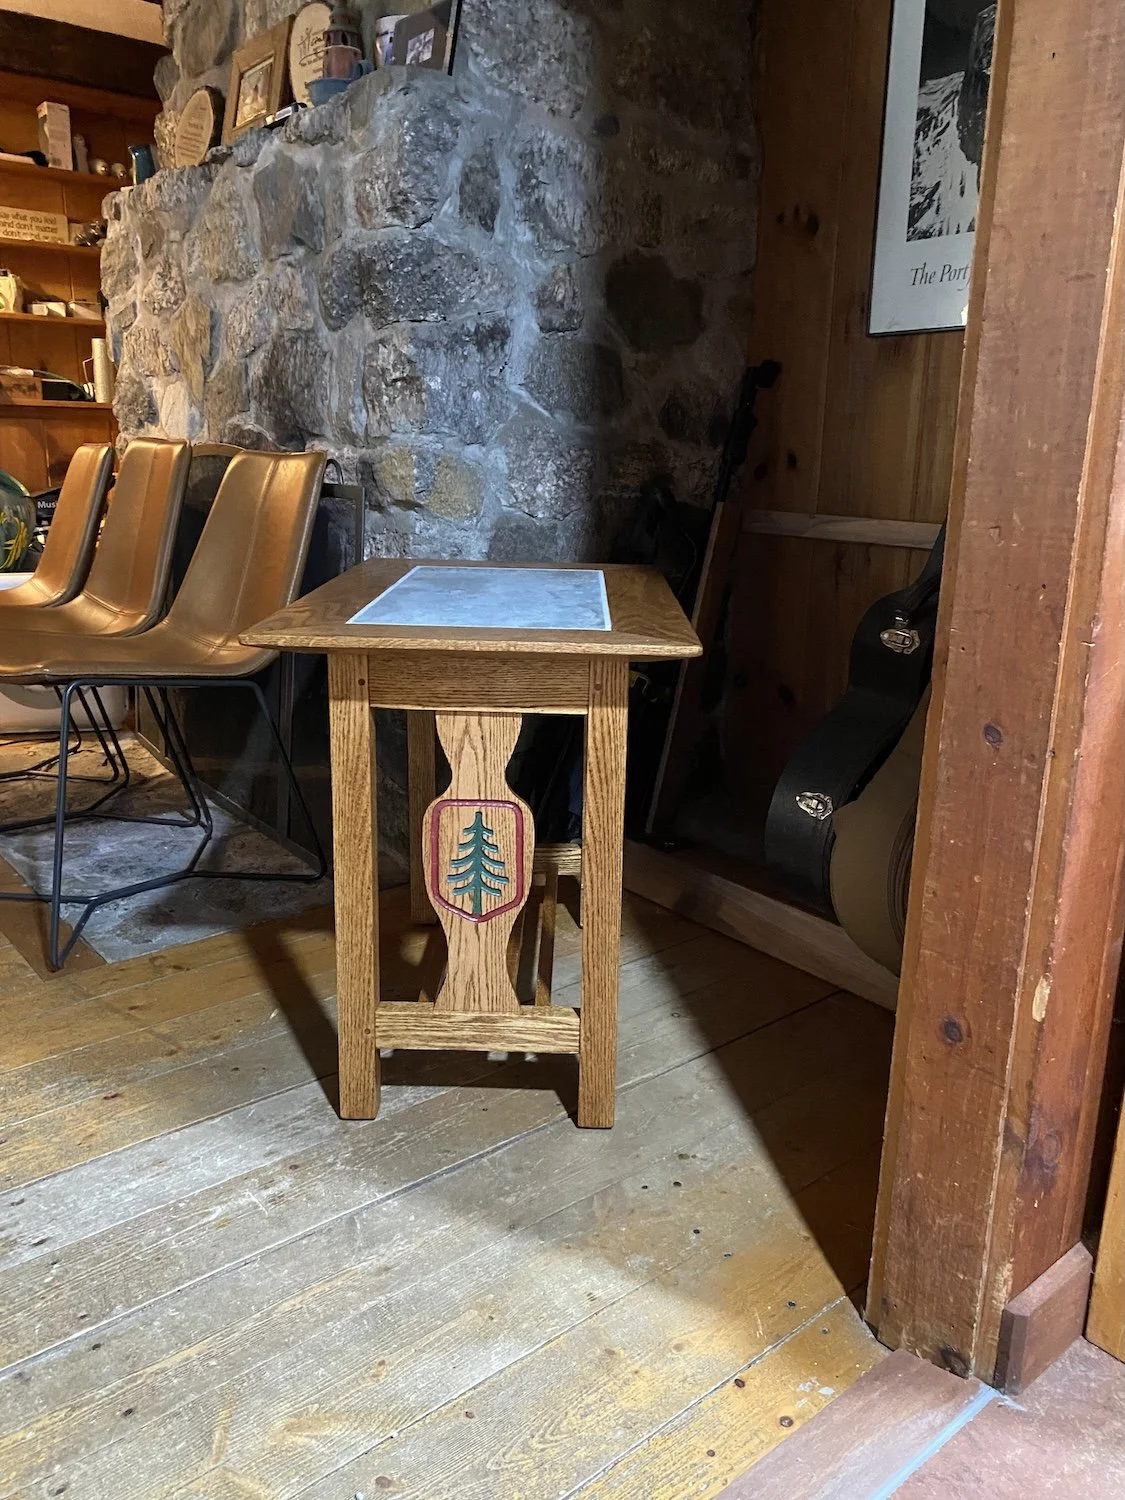
We took the table to Camp in pieces to make transport easier and I still hadn’t sealed the grout. Our second day at camp we sealed both the tile and the grout and attached the top to the base with L brackets to make future disassembly easier. Here is the final product in “Scott’s House” at K&E. I really like how the wide white oak wings give extra character to the top.
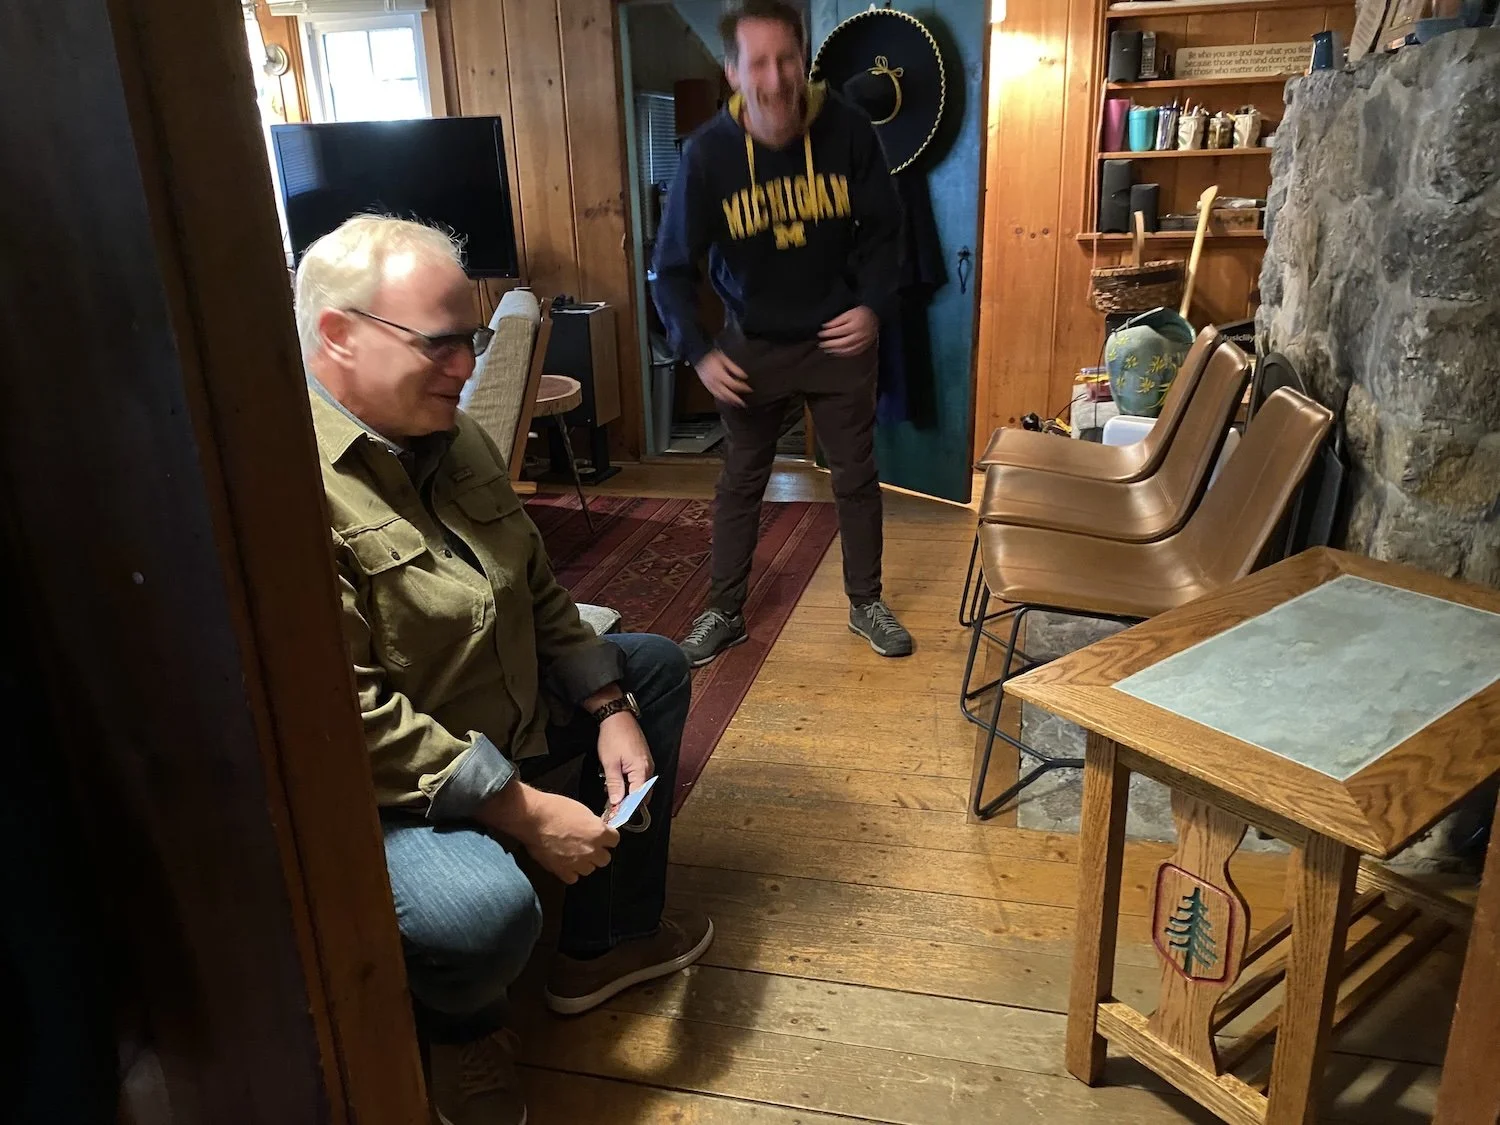
We got really lucky and Scott showed up at camp on Friday before we were to leave on Saturday. It was the first time we met him which we really enjoyed. Here we are with Jack turning the table over to Scott. I’m not sure who was more excited.